
A little while back I posted a few pictures on social media of a Saturday morning project I was working on. I was in the midst of getting a whole bunch of veggies chopped up and fermented. I had recently gone to a class here in town where a man showed his technique for making fermented veggies. There are a few different techniques and materials you can use but I like to keep things as simple as possible!
I tried his homemade sauerkraut and noticed that it tasted MUCH better than mine! His kraut tasted more sour and I loved the mixture of veggies he used.
Now why the heck would I want to eat a bunch of veggies that have been sitting on the counter for a month?
Fermented vegetables are loaded with beneficial probiotic (meaning pro-life) bacteria. Sound gross? Your body is made up of TRILLIONS of bacteria both good and bad. The more good bacteria we have in our bodies and namely our digestive tracts the more vibrant health we can experience.
Whenever I feel a cold coming on I take a shot of fermented vegetable juice a few times a day and on multiple occasions it has knocked off a cold before it had a chance to knock me off!
I could go on and on about how healthy fermented foods are for you but that is an entire course in and of itself, which I am working on 😉
Woo hoo it’s done! Pick it up by clicking on the link below
Fermented Foods Made Simple
Today I want to show you how to make these amazing veggies so you can save a lot of money and enjoy the benefits in just a few weeks!
First off you’ll need to gather your veggies and a GIANT bowl.
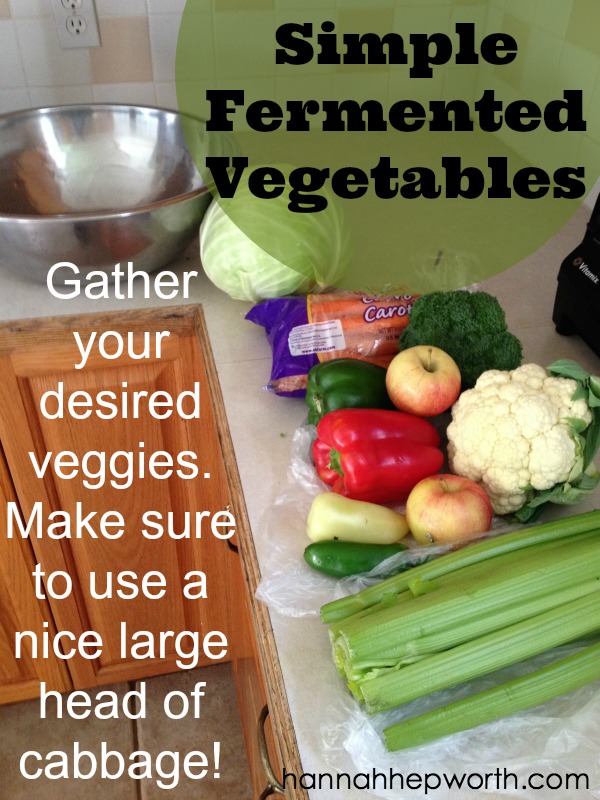
As you can see from this picture I included:
- 1 large head of cabbage
- 1 small head of broccoli
- 1 small head of cauliflower
- 1 green pepper
- 1 red pepper
- 2 apples (organic)
- 1 small jalepeno pepper
- 1 banana pepper
- a few stalks of celery
- a few large carrots
- caraway seeds (not pictured)
Don’t they just look so beautiful and colorful sitting there all lined up?
Before you chop your entire cabbage to bits, save 4-6 of the large outer leaves. These will be used later to keep the veggies submerged in the jars. Set them aside for now.
Next I washed, peeled and chopped all these veggies and put them in the giant bowl that’s in the picture above. This took me about 30-45 minutes, I was interrupted a couple times;)

Once you have them piled high in your bowl sprinkle it with 4 T. (thats 1/4 c.) of pink salt. I use Redmond Real Salt. This kind of salt is unprocessed and still has all of the trace minerals in tact that assist all the little beneficial bacteria in doing their thing. Don’t use regular table salt. I have made that mistake before and it just creates soggy, squishy cabbage. Pink salt helps keep your veggies crunchy.
After I have sprinkled the salt all over I also add 1 T. dried caraway seeds, I thought this was a delicious addition, smell them, if you don’t think you’ll like the way it will taste then you can omit them.
Next comes the fun part. Dig your hands into the bowl and start massaging all the veggies. Squish them with your hands and bruise the cabbage. Turn the veggies over to help incorporate the salt. Do this for a few minutes. The veggies (mainly the cabbage) will wilt and the bowl will not look nearly as full of veggies because they will condense. There will also be juices in the bowl which will help add flavor to your end product.
Do you want to see how this is done in my video course? Click on the link below!
During this time, as you work the veggies with your hands it will smell amazing. All the flavors of the veggies will meld and you can try a few bites, it tastes delicious!
I work the veggies with my hands for 5-7 minutes.
Then you’ll want 2 clean 1/2 gallon glass mason jars. If you don’t have that large size, then use 4 quart jars, wide mouth lid preferred. It’s a lot easier to pack veggies into jars with wide mouths than the regular mouths. I use a canning funnel with the wide opening to help me get the veggies into the jar without making such a large mess but that isn’t totally necessary. If you have one, I would use it. You can purchase them at any store near the canning supplies.
Take your first jar and pack it about half way full of veggies. Then take the end of a spatula and push it into your jar. Jam the veggies down as far as you can. Pounding them will continue to release more juices. This is good because the less water you use the more flavorful they will be!
Add more veggies into the jar, pack with the end of the spatula and repeat until it’s almost impossible to add any more veggies to the jar. Just leave about 2 inches at the top to add a bit of water and your cabbage leaves.
At this point my half gallon mason jars were about 2/3 of the way filled with the juices from the veggies.
Take your next jar, half gallon or quart sized, and repeat the same process. Pushing the vegetable mixture into the jar, pounding with the handle of a spatula and repeating until you can’t fit any more in.
My entire bowl of veggies fit into 2-half gallon mason jars so just keep packing them in until you fit all the veggies into jars. Your veggies will be slightly different sizes than mine so they may or may not fit into the exact same amount and size of jars as mine.
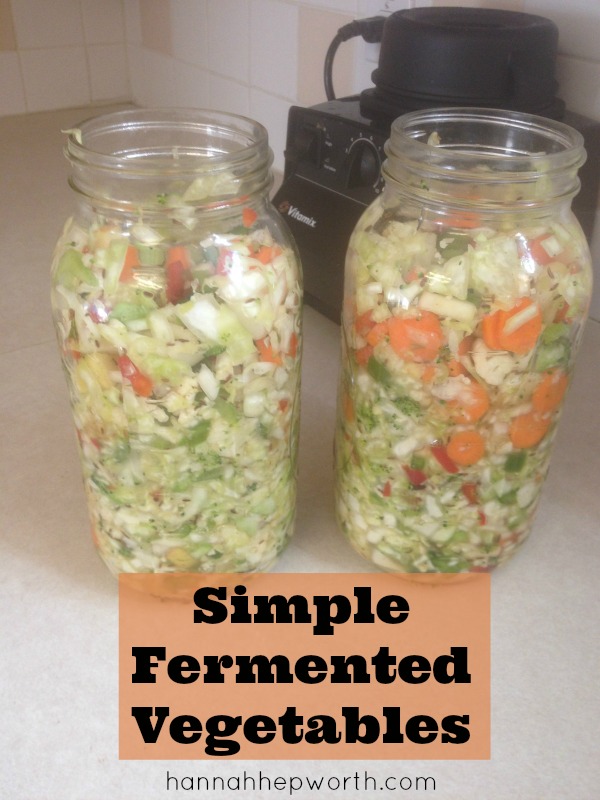
Fill the jars the rest of the way with water. Leaving about 2 inches of head space.
Fold saved outer cabbage leaves and squeeze them into the top of the jars so that they push your veggies down into the salty juices and keep them submerged. This keeps them safe so that they don’t grow any weird mold.
Over time the cabbage leaves may have orange or blackish colored mold and it’s okay, just discard the cabbage leaves before eating the veggies.
Cover them with a plastic lid, I purchased mine on amazon, but you can sometimes find them at stores near canning supplies.
Place jars on a cookie sheet and put them on your kitchen counter out of the light. The cookie sheet will catch any liquid that bubbles out of the jars. This is normal. Every few days or whenever you think about it you can “burp” the jars by unscrewing the lids and tightening them back up to let some gases release.
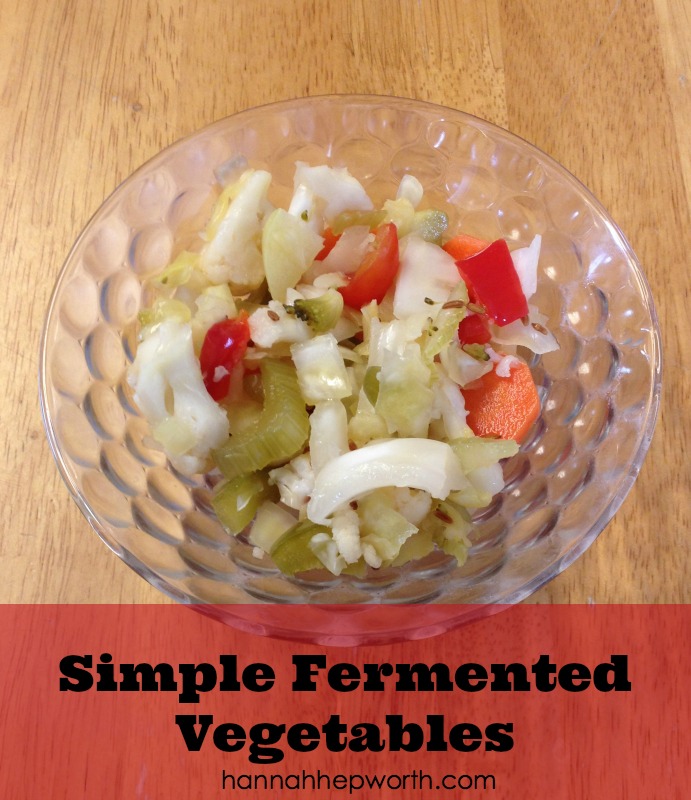
Let your veggies go about a month. Start tasting them after 2 weeks. This batch that I created that is in these pictures is now 2 weeks old and is beginning to taste nice and sour. I’m going to start eating 1 jar and leave the other jar on the counter for another 2 weeks to see how they differ.
Once they get to 2-4 weeks and the desired flavor, you can remove the top cabbage leaves and place them in the fridge and the fermentation process will stop because it is no longer the right temperature.
They can be stored in the fridge for at least 9 months!
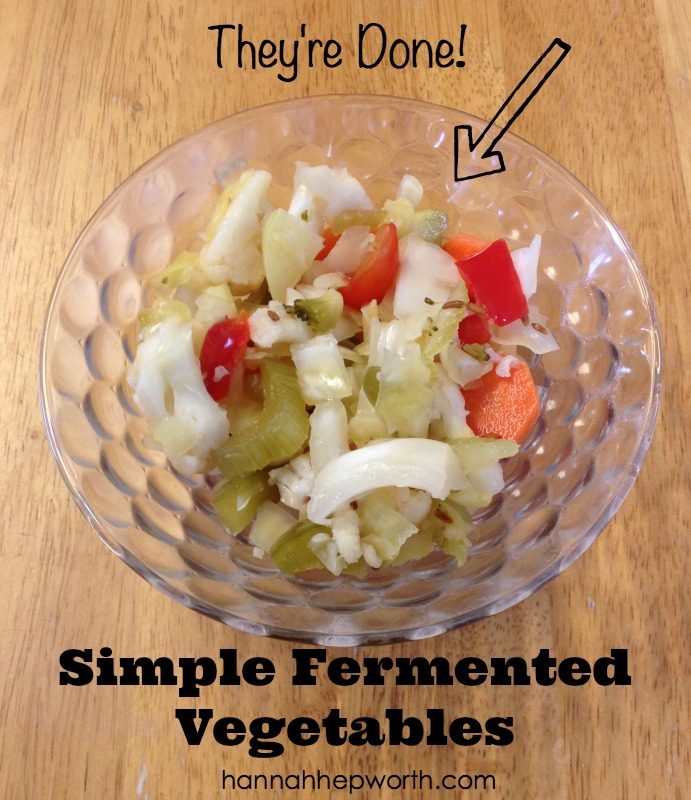
They taste great with any meal. I like to put a scoop on top of all my salads. I like them paired with meat (they even provide you with plenty of enzymes to help digest meat), with eggs and on top of soup!
They pack a yummy salty punch and can spruce up just about any soup, salad or main dish. You could even sprinkle some on a sandwich. The possibilities really are endless.


I seriously need to make my own fermented veggies already!!! I had quite a kimchi addiction (yummm) while I was first battling Candida/Leaky Gut and I was spending way too much money on the stuff. Now that I feel better, I have no excuse not to make my own. 🙂 I love the variety of veg you used. Mmmm.
Hi! This recipe looks beautiful and simple. I’ve never had cultured vegetables except sauerkraut. Will they taste like sauerkraut? And also if I just make cabbage like this, will it turn into sauerkraut? Don’t we need any kind of starter for this? Thanks for your reply!
Hi Kat,
Yes they all taste nice and sour, you taste a bit of different flavors in the carrots and peppers and everything but the over all flavor is sour! And yes you can leave out everything and just to cabbage and make plain sauerkraut using the exact same technique! Good luck and let me know if you have any other questions:)
Pingback: The Top 5 Foods To Eat If You Have Anxiety
Pingback: Basic Supplements To Take For Anxiety
Pingback: Lemon Coconut Kefir Smoothie